
U
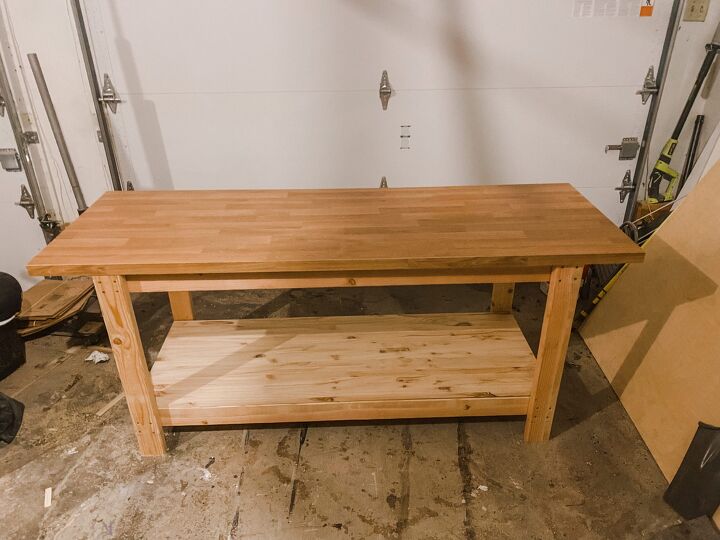
One year into DIY and I decided it was time to make myself a workbench. I searched high and low for plans, researched height, depth and width of standard workbenches and tried to decide on what material I wanted. After my search I had seen that many workbenches had laminate tops and what better place to buy that than Ikea! So I decided to plan my workbench build off of the 25 5/8″ x 73″ countertop from Ikea. I’m so excited to share with you how this turned out and if you end up using these plans please send a comment or take me on Instagram!!
Materials:
(6) 2x4x8′ boards
24″ x 6′ glued edge pine board
Ikea Saljan countertop 74″ x 25 5/8″
1.25″ wood screws
2.5″ wood screws
2.5″ pocket hole screws
Wood glue
Miter saw
Pocket hole jig
Drill and bits
1″ L Bracket
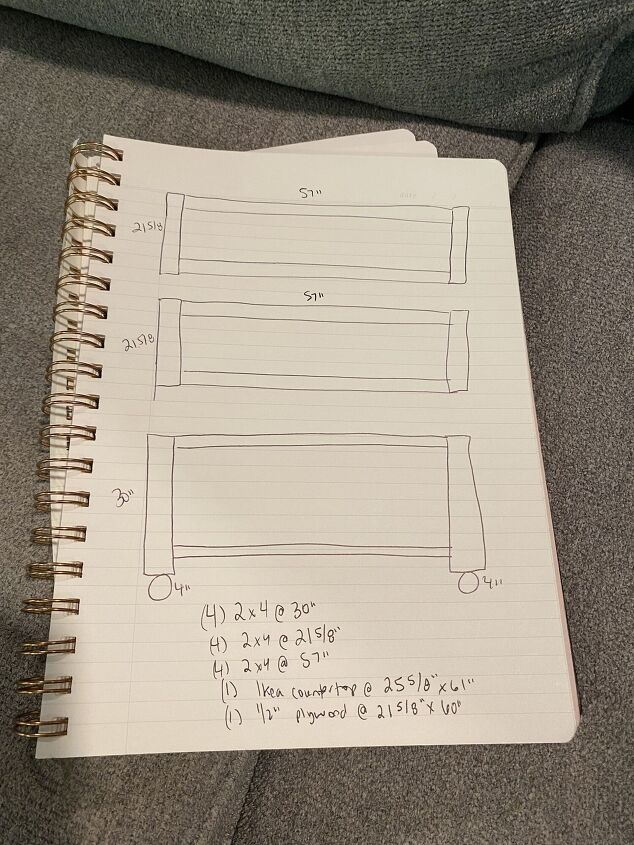
Cut list:
4- 2×4 @ 30″
4- 2×4@ 21 5/8″
4- 2×4 @ 57″
Glued edge pine board @ 21 5/8″x 60
Build:
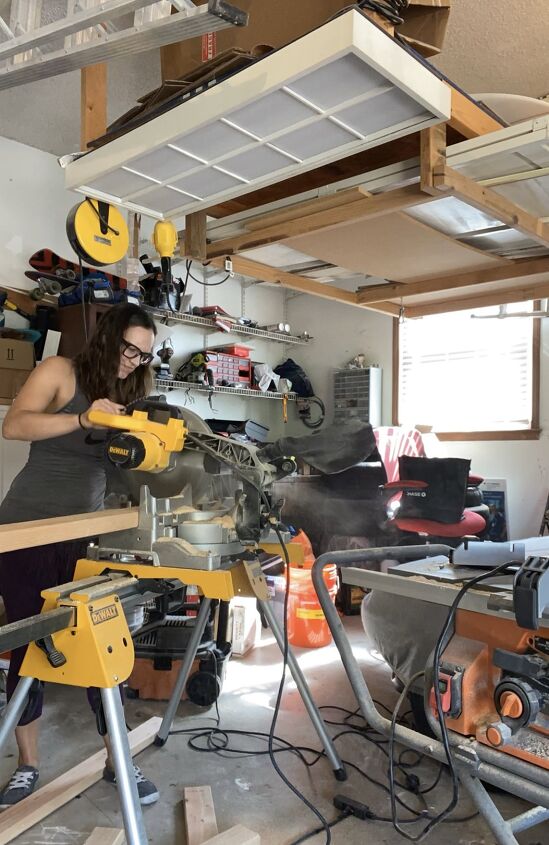
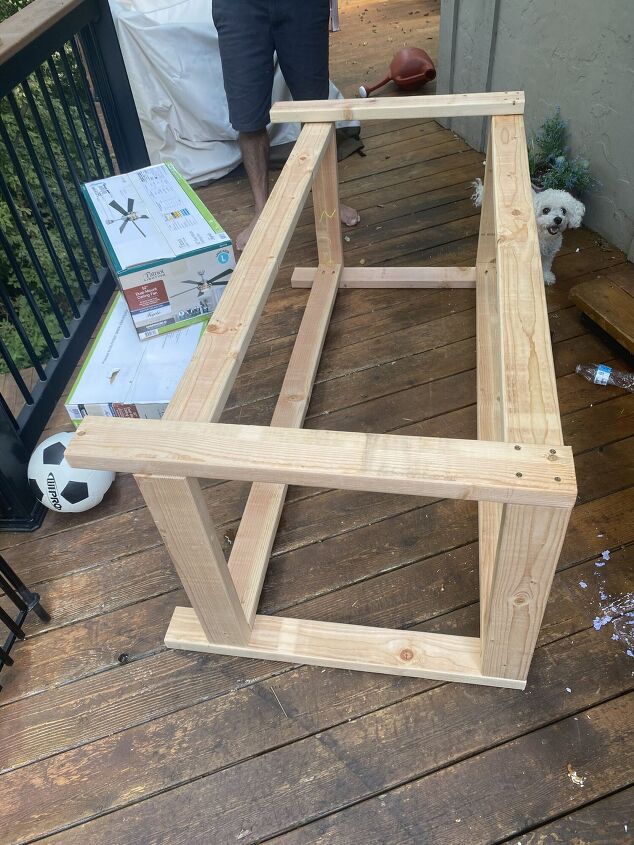
Step 1:
Make all of the cuts per the cut list above
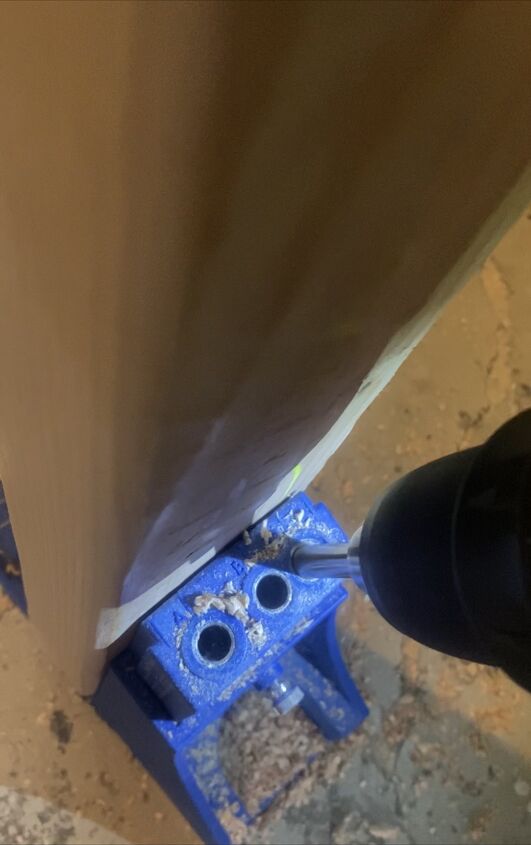
Step 2:
Drill Pocket holes into the ends of each of the 57″ pieces
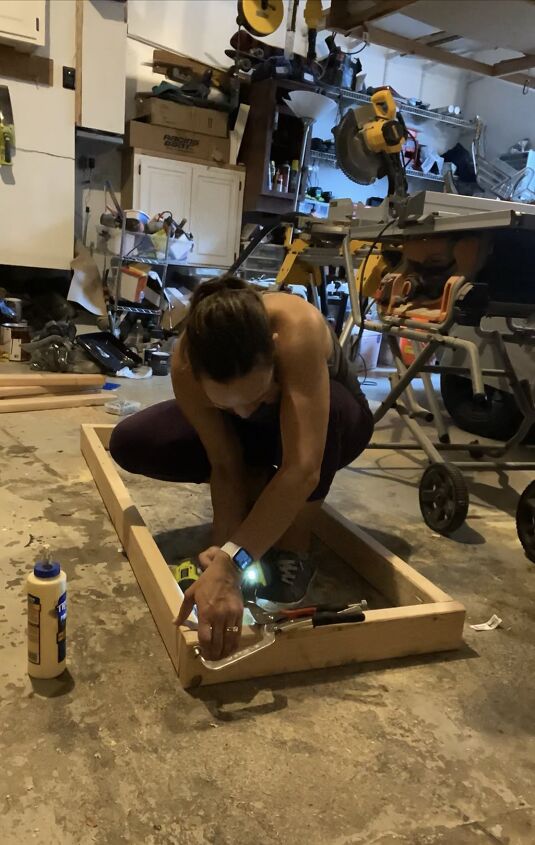
Step 3:
Screw together 2 of the 21 5/8″ and 2 of the 57″ pieces to create a frame. Repeat this process one more time until you have 2 of these frames.
Step 4:
Predrill the holes and attach the four 30″ 2×4 legs with 2.5″ screws to the frames. One frame will be at the top of the legs. One frame will be 4″ from the bottom of the frame.
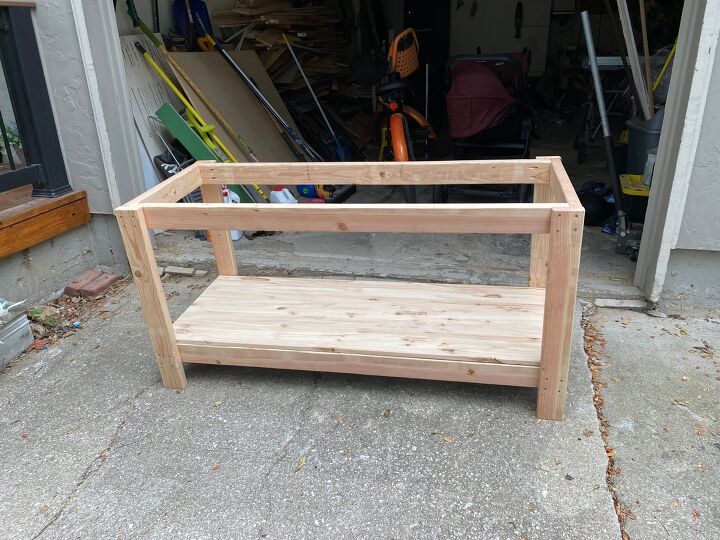
Step 5:
Attach the bottom shelf with 1.25″ wood screws.
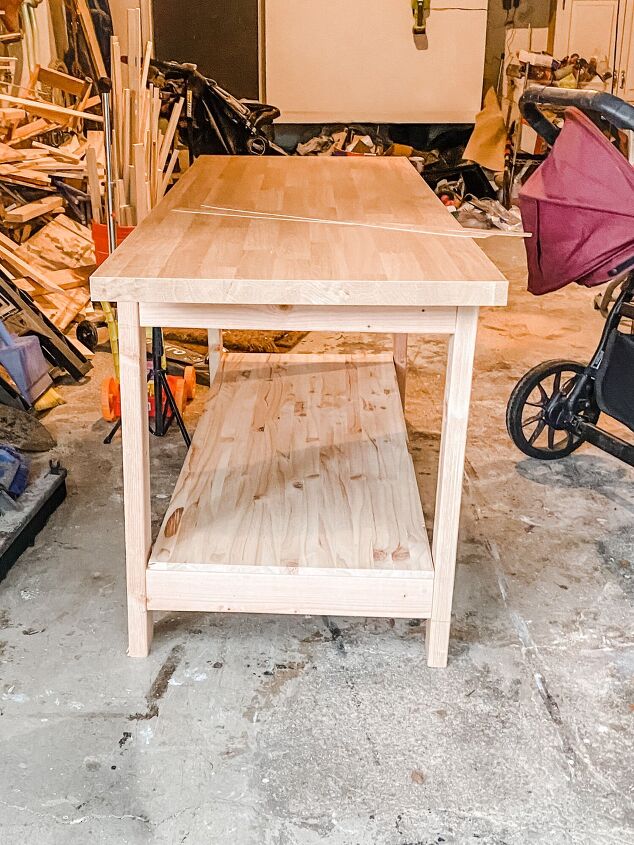
Step 6:
Attach the countertop with 1″ L brackets.
Step 7:
Optionally attach casters to the bottom of the legs.
Thanks for stopping by, I hope you enjoyed these plans!

COMMENTS