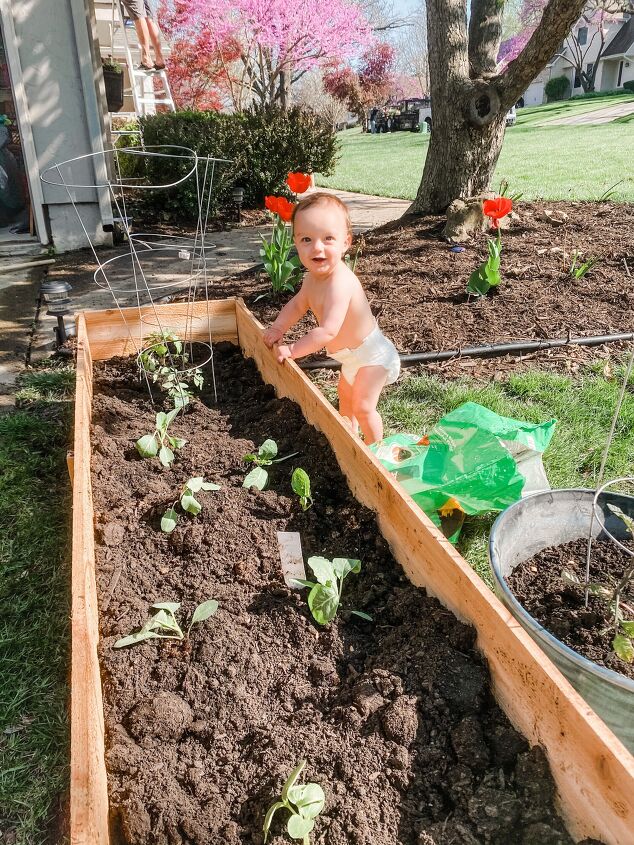
My grandparents had the most amazing garden at their farm and my grandpa just loved gardening. The only thing he had trouble growing was rhubarb and you would hear about it! In California, I started a garden and grew so many herbs, tomatoes and peppers. When we moved here I really missed my garden and how easy it was to grows things in California! This is our third spring and my third try at our garden. We unfortunately don’t have a great place for a garden so the last two years I tried container gardening but its not my favorite and our yield was so low. This year I decided it was time to make a raised garden bed and cross my fingers we have better luck!

Not sure if you have every looked at the price to buy these but they can be so expensive. I decided to cut costs on making this bed by using cedar fence posts instead of cedar boards! Still can’t believe I made this for right around $25!
Here is the tutorial in case you want to make your own! You can also check out my Instagram highlights for video!
/ https://www.instagram.com/p/CNjRAG4nvbE/
Materials:
6, 6″ x 72″ cedar fence post
1 1/4″ exterior wood screws
1 5/8″ exterior wood screws
Wood glue
Miter saw
Table saw
Cut list:
4- 1×6″ cedar fence pickets at 72″ for the side panels
10-1×1.5 fence pickets at 12″ (rip one of the cedar fence pickets into 4- 1×1.5″ wide strips)
4- 1×6″ fence pickets at 17.5″ for the end panels
Now let’s put it all together:
Step 1:
Make all of the cuts per the cut list above

Step 2:
Build your two side panels. Use your 1 1/4″ screws and wood glue to put together your side panels. Each side panel will consist of 2 of the 72″ fence pickets with 3 of the 12″ pickets attaching them together. At each end you will attach one of the 12″ pickets overlapping the end by 0.5″. You will also attach on the the 12″ piece in the middle for support.

Step 3:
Build the two end panels like the side panels. Overlap each end pieces with the 0.5″ overhang so you can attach the side/end pieces together.

Step 4:
Use wood glue at 1 5/8″ screws at attach the side and end pieces together.

And there you have it! Your finished cedar raised garden bed! Next up for me a potato box!!

COMMENTS