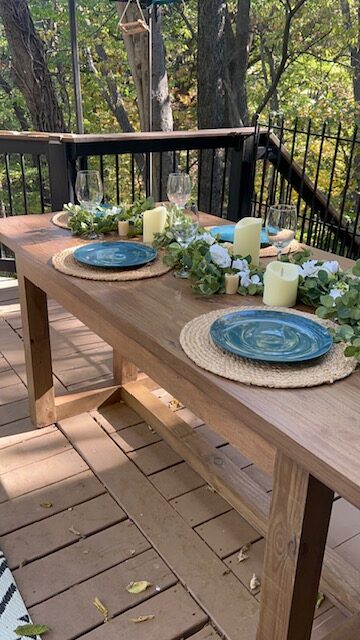
After spending months looking for plans for an outdoor dining table I still could not find what I wanted. I decided to start looking at high end furniture stores and that is when I saw the Pottery Barn Portola table. I knew I had to build it. After having bought the wood months ago I am so glad to finally finish building it! I hope you love this table as much as we do. We have enjoyed a lot of time out here since it was built and everyone comments on how great it looks!
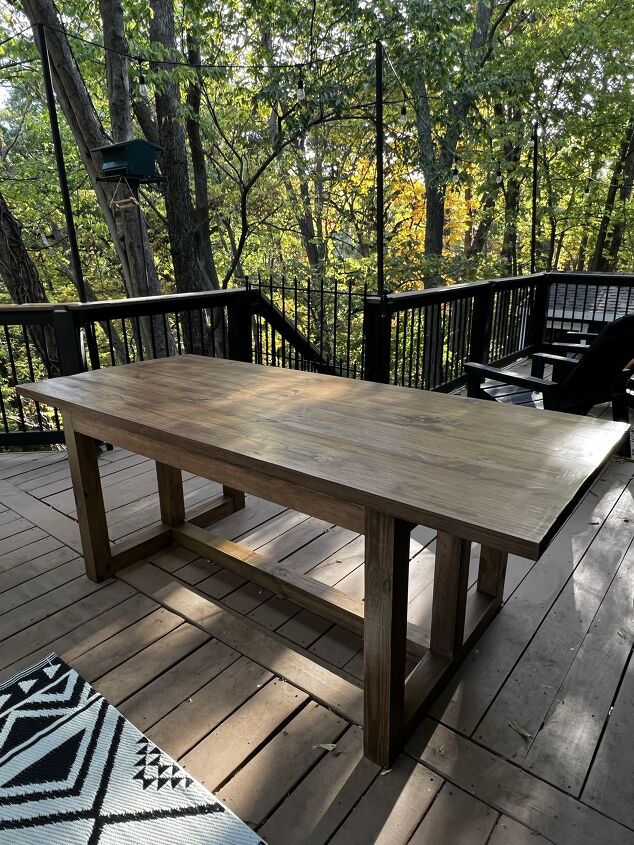
The overall dimensions of this table will be 80″L x 36″ W x 30″ H. You can make this bigger or smaller based on your space but the size of this table comfortably fits 6 and could fit 8 if needed!! I hope you enjoy these plans!
Materials:
4- 4×4 boards trimmed to 3×3 size
2- 2×4 boards trimmed to 2×3 size
1- 2×4 board
4 2×10 boards
2 1/2 Kreg Screws
Kreg Jig
Kreg XL Jig
Kreg XL 2 1/2″ screws
Drill
Wood Glue
Miter Saw
16” and 48” clamps
Safety glasses and mask
Table Saw
Orbital Sander
80 grits and 120 grit sandpaper
Minwax Pre-stain
Minwax Early American Stain
Minwax Simply White Stain
Total boat Haylcon Water based poly in clear satin
Foam brush
Cut List:
4- 3″x3″ @28.5″ boards
2- 3″x3″ @22.5″ boards
2- 3″x3″ @27″ boards
1- 3″x3″ @50″ boards for the stretcher
2- 2″x3″ @50″ boards
2- 2″x3″ @ 27″ boards
4- 2″x10″ @ 80″ boards
Let’s build this together:
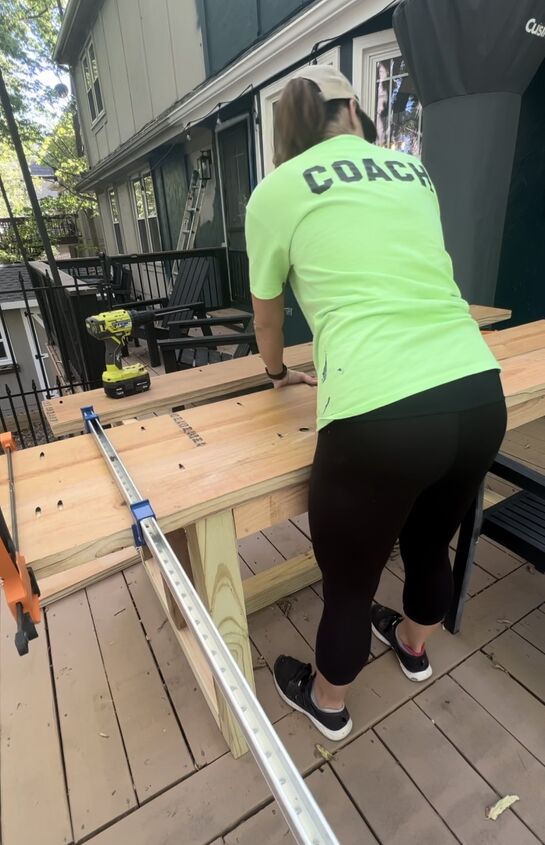
First start by cutting your 4″x4″ boards down with a table saw to 3″x3″. These 4×4 had a straight edge on each side so I just had to cut down one side.
Next cut the 2″x4″ boards down to 2″x3″ boards. The 2×4 boards do not have a straight edge so I trimmed off 1/4″ from one side and then changed the fence to 3″ for the other side so the boards had two straight edges.
Trim each of the 4, 2″x10″ boards on each side by 1/8″ so they have a straight edge.
Make all of the cuts from the cut list. Each cut needs to be exact so they match up correctly.
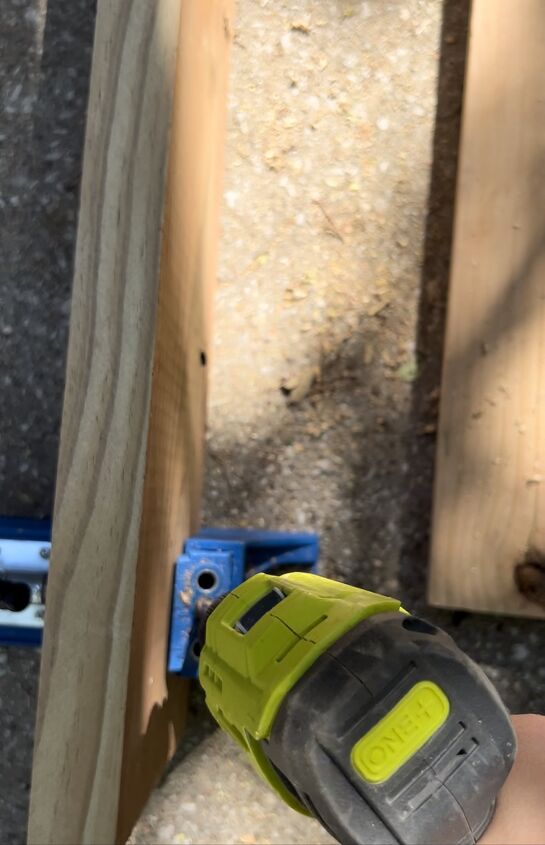
Now it is time to drill a bunch of pocket holes. Drill pocket holes in each end of the 3×3, 27″ boards, one end of the 22.5″ boards and the both ends of the 50″ boards. The 2″x3″ x 27″ boards need pocket holes at the midpoint on one of the long sides of the boards. The Kreg XL Jig will need to be used for the 3×3 boards. You will need to use two clamps to clamp the jig down.
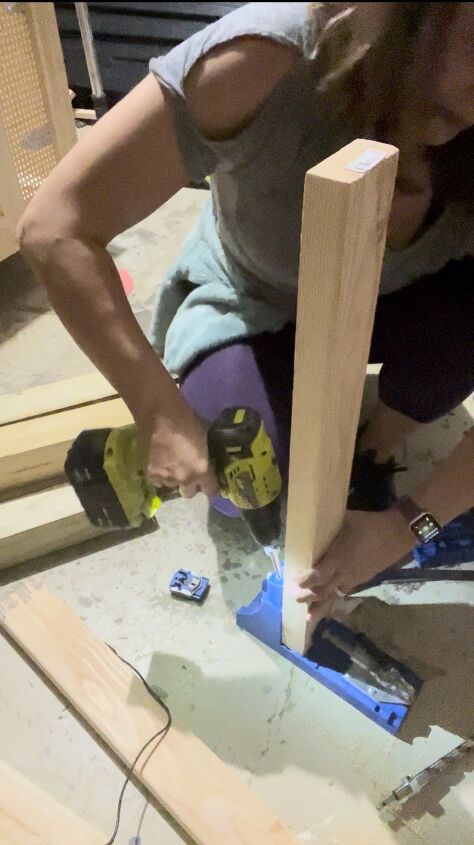
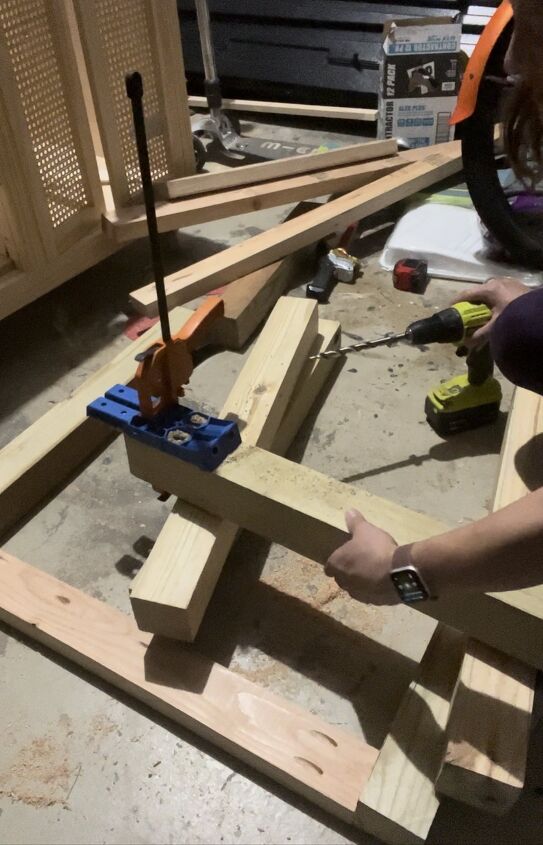
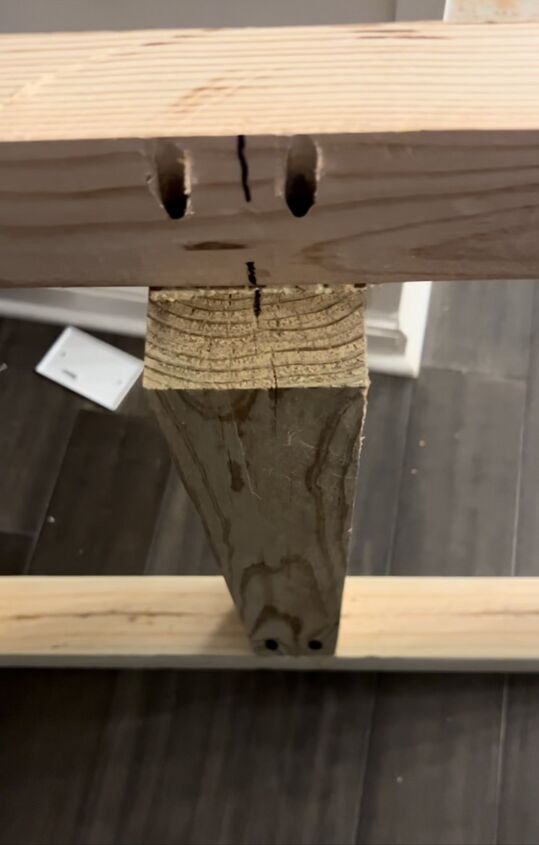
It’s time for you to attach these together with wood glue and 2 1/2″ kreg screws. Start by making the two leg end pieces. Connect the 28.5″ legs with a 2×3″ @27″ piece at the top. The 2×3 board needs to fit flush with the outside of the legs with the pocket holes facing in. Place the pocket holes in the middle of this board need to face towards the middle of the table. Make sure that the 3×3 @27″ pieces have the pocket holes facing down so they will be hidden when the table is in place.
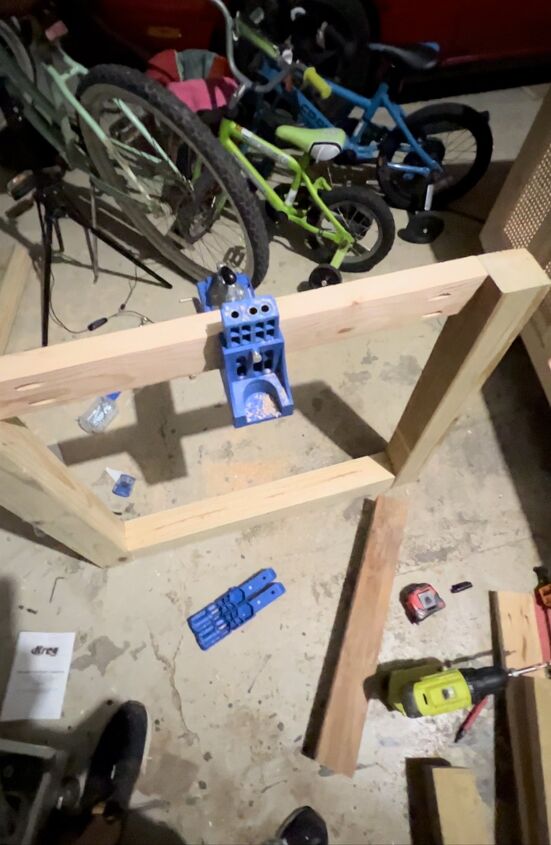
Once you have built these squares, it’s time to attach the 22.5″ middle pieces with wood glue and 2 1/2″ kreg screws. The boards need to line up flush with the outside of the frame board and the pocket hole at the top will go into the middle of the 3×3 @22.5″ board.
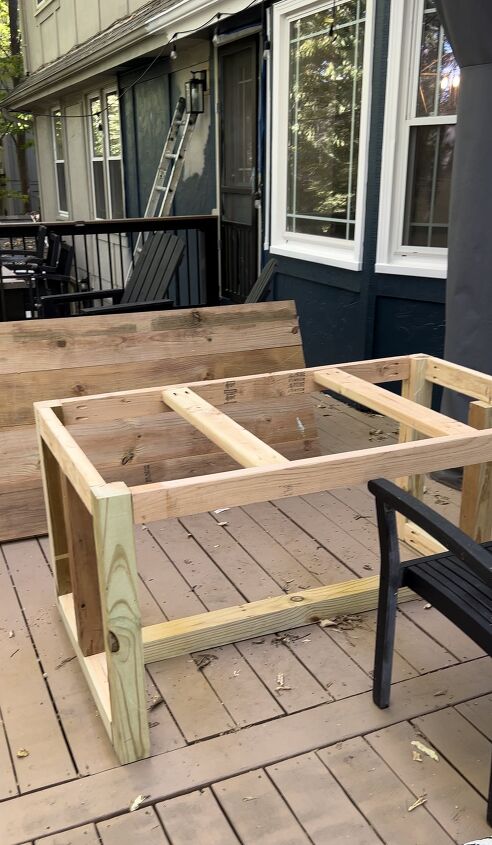
Now that the two outside frames are ready it’s time to attach the stretcher and side frames. Attach the side 50″ boards with the pocket holes facing inside.

Attach the stretcher with the pocket holes facing down. I flipped the table over for this and used a long clamp to help make this easier.
Once the table is together add the two table top cross supports with pocket holes facing up. I measured the space before making the cuts to make sure it was a tight fit
We are so close to being done! Time to drill pocket holes in the sides of 3 of the 2″10″ boards so you can attach them all together
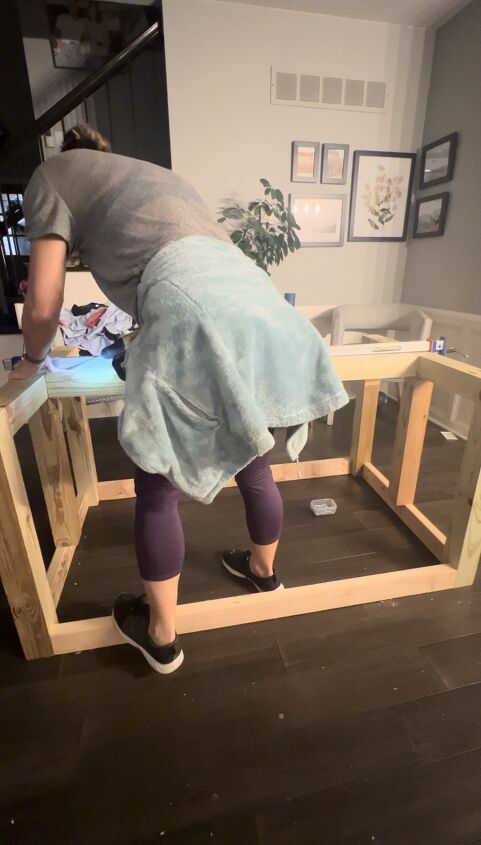
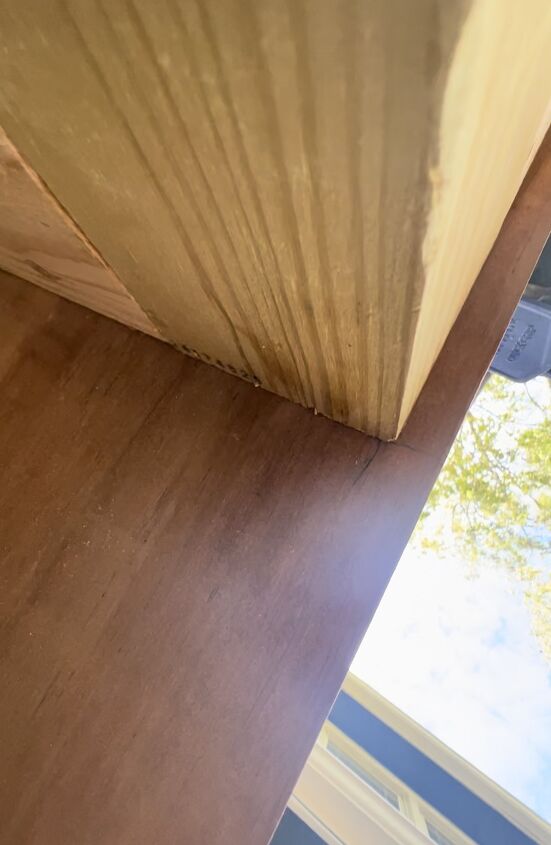
I put the table top together on top of the base. Using the clamps to make sure the boards were flush and level across and then connecting with 2 1/2″ kreg screws and wood glue. Continue connecting each table top board until all 4 are together and flush/level.
Flip the table top over with a friend it is heavy! And connect the top to the base with wood glue and 2 1/2″ wood screws making sure that the table is centered on the legs. I drew an L on each corner to make sure they were lined up straight and centered and used clamps to keep the table where I wanted until it was screwed together.
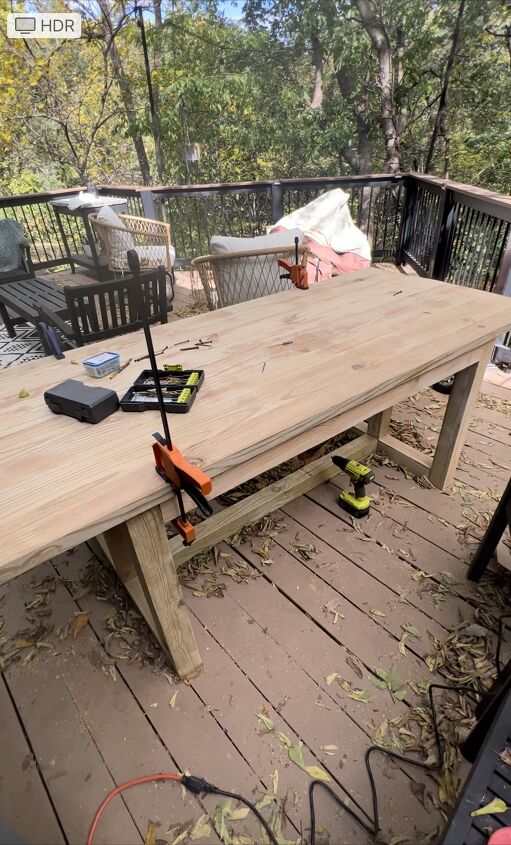
Next up fill the kreg screw holes with wood filler.
Once it is dry it’s time to sand the entire table with an orbital sander first with 80 grit sandpaper and then with 120 grit sandpaper. Add more wood filler if it is needed to hide the screw holes add more and sand again. Always make sure to wear a mask while sanding!
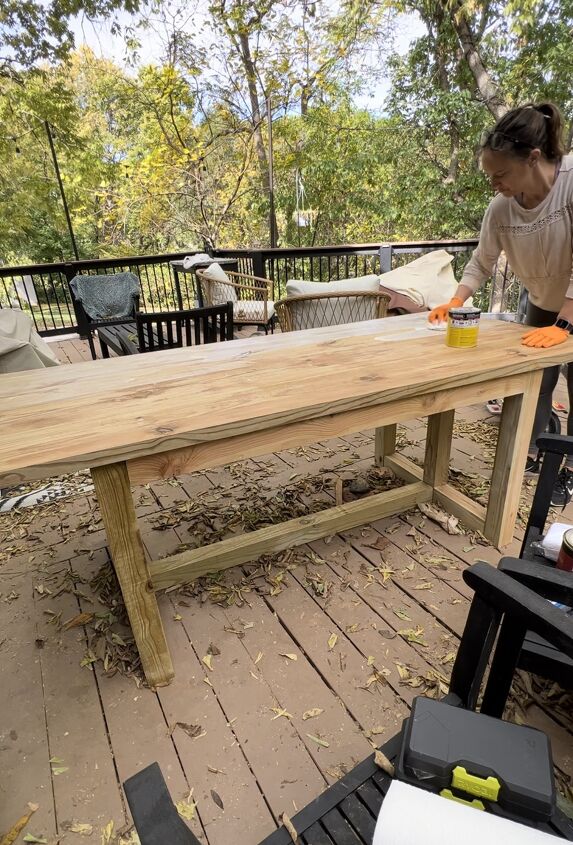
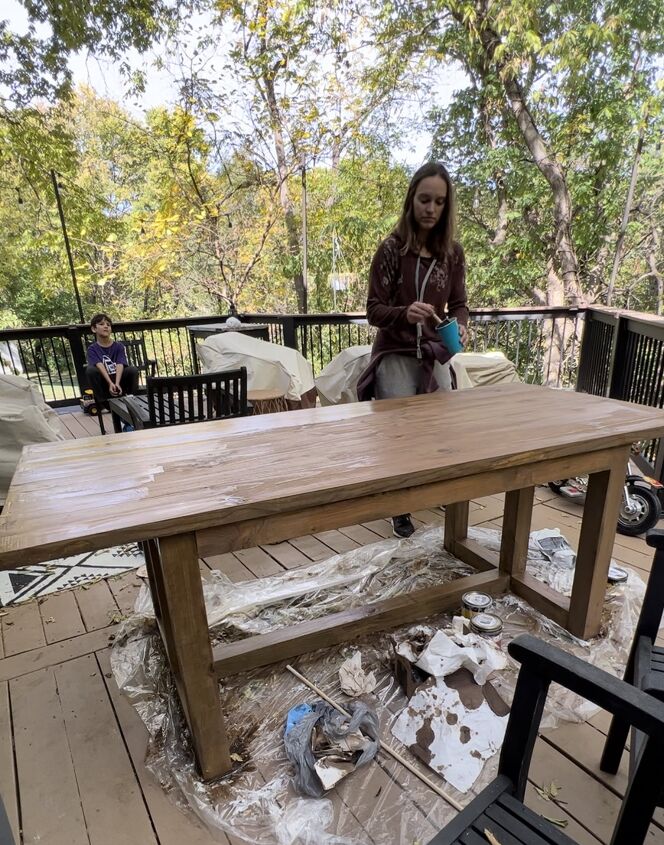
Now it is time to stain! Start with pre-stain condition, wipe off excess and wait 15 minutes before staining.
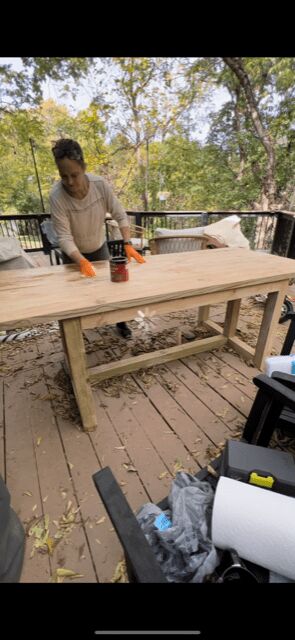
Work in small sections for the table. I used oil based Minwax Simply White and rubbed off after 5-10 minutes and then followed immediately with Minwax oil based Early American. Keep this on for 15 minutes and wipe off the excess.
After 4 hours of dry time apply your sealer. I used total boat halycon with 4 coats in total and it was amazing!
You have finished your Pottery Barn Portolla DIY table!
I hope this was helpful and if you end up building it I would love to see!!

COMMENTS